Here are some suggestions to help you produce a smooth and balanced scissors finish on your dog in the least amount of time and without wasted motion. Certain hand and wrist movements may increase your chances of developing repetitive motion problems such as tendonitis and Carpal Tunnel Syndrome.
This is nothing to worry about if you only intend to groom your dog at home. However, it is another matter, and a serious one, for professional pet stylists. Groomers who repeat the same motions, the same way, for long periods of time, are likely to overuse and stress their muscles.
On the palm side of the wrist, a large nerve passes through a tunnel of tissues on its way to the fingers. Stress on that tissue tunnel squeezes the nerve. The result is numbness of the thumb and index, middle and part of the ring fingers, accompanied by pain.
If steps are not taken to relieve pressure on the nerve, tendonitis or Carpal Tunnel Syndrome can develop. A wrist splint may be necessary to diminish inflammation in the tunnel. The way to avoid such problems is to work with well-designed tools, know how to hold and use them, and learn how to use your wrist and hand to avoid causing harm to your muscles, nerves and joints.
Your goal in scissoring your dog (for instant a Poodle), whether you are shaping the body, the legs, the topknot or the tail, is to produce an even, balanced finish that is plush and velvety looking and free of scissors marks. Before you begin, see that the tension on your shears is adjusted properly.
Professionals like their scissors to open and close easily and smoothly with no wasted blade motion. When you open properly adjusted shears and let them fall to close, they should close completely by themselves.
If the tension is too tight, the blades will grind against each other, you will use too much force to open and close your shears (increasing the odds of strain), your hand will cramp and your work will look choppy.
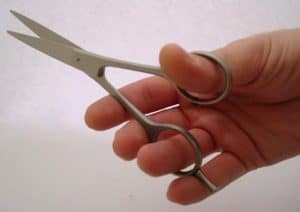
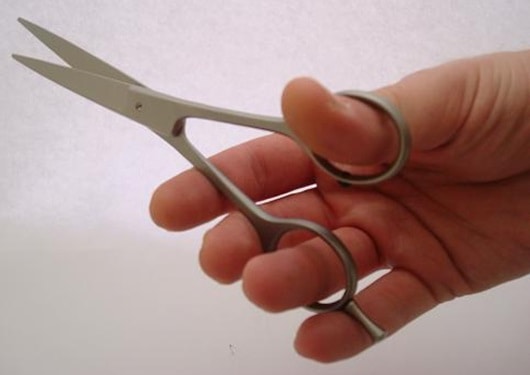
Pick up your shears and grip them in the manner previously described. When being held in the scissoring position, a correctly balanced pair of shears should remain level and not dip downwards or raise upwards. Now open and close your shears by moving only your thumb, not the rest of your hand (if you move both thumb and fingers, the result will be a very uneven cut).
Remember, if the tension is properly adjusted, just the slightest pressure by your thumb pad (not the whole thumb) should be all that is necessary to open and close the shears. As the blade closes, your thumb should return to a natural position, resting between the index and middle fingers.
Practice opening and closing your shears by only moving your thumb, not the rest of your band; the process may seem a little difficult at first, but it soon should become spontaneous.
When you do start scissoring your dog, always hold the shears flat against the hair you are working on and trim a little hair off at a time. By holding your shears parallel with the ends of the hair, each shaft is cut as wide as the root and creates a thick, profuse look.
Hold your shears steady against the hair. Don’t gouge! And don’t point the tips of the blade into the coat; this will create indentations in the hair, and you will never achieve that “plush velvet” finish that is your goal. While scissoring, try to maintain a straight line between your hand and wrist. Avoiding bent, extended or twisted positions for long periods of time keeps extra pressure off your wrist and hand.
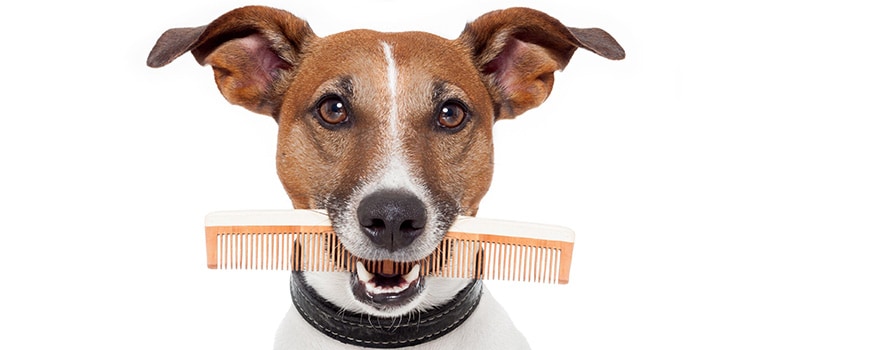
No matter what part you are shaping, however, to achieve the desired smooth, even finish, as you are scissoring, you must fluff the hair upward and outward with your comb several times to ease out any straggly hairs and make every hair stand out straight. Do not pick out the coat with your fingers. Fluff the hair out with the comb, and re-scissor any uneven sections of the coat.

