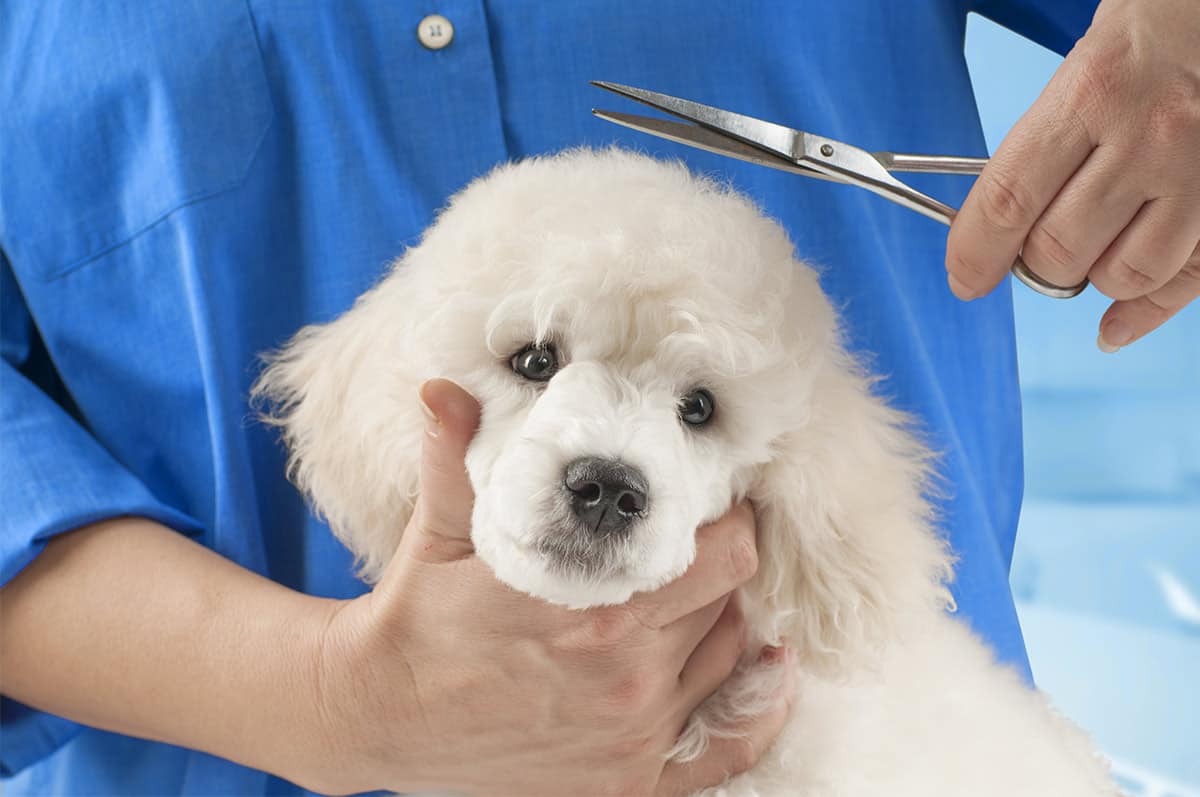
There are two styles for clipping the neck and the throat of a Poodle, depending on the body pattern you choose.
- The throat and front of the neck are clipped while hair remains on the sides and back of the neck.
- The front and back of the neck are clipped completely.
Clipping the Throat And Front of the Neck
On pet patterns, such as the Puppy, Sporting, Retriever, Lamb, Miami, Desi, Y and Swirl clips, as well as the popular Moderne style, only the throat and the front of the neck are clipped. The hair remains on the sides and back of the neck and is trimmed with clippers or blended with scissors to various lengths according to the pattern you select.
- Sit the Poodle on the grooming table facing you. As this can be a very sensitive area, it is very important to choose the blade that is correct for your dog’s skin type. Normally, you should clip this area with a No. 10 blade. Don’t use anything closer until you know how your Poodle will react. If your dog is extra-sensitive, however, and likely to scratch his throat after clipping, use a No. 9 or a No. 8-1/2.
- Start an inch or so below the Adam’s Apple. If the neck is short and you need to add length, start slightly lower. Pointing clippers upward, clip to the front of each ear. The clipped area either can be V shaped or slightly rounded across the neck (similar to a string of pearls).
- After the neck is clipped, comb the hair at the clipped lines upward, then scissor off any hair that extends above the line to make the pattern look neat.
- Depending on the clip style you choose, the hair on the sides and back of the neck either is trimmed with clippers or scissored to the lengths suggested in the pattern instructions. For instance, on the Sporting, Retriever and Miami clips, because the body hair is trimmed short with clippers, the hair on the neck is clipped with the same blade to blend in. The Poodle should still be sitting on the grooming table to face you. Holding the muzzle in your free hand, bend the dog’s head down slightly, and place the clipper blade at the base of the skull.
- Clip the sides of the neck by lifting each ear and clipping down from under the ear to the same point.
- Once the body is clipped to the same length, the short clipped hair on the back of the neck is carefully blended into the topknot with scissors.
On the Lamb, Desi, Y and Swirl clips, the hair is much longer on the back of the neck. It can be trimmed with a snap-on comb attached over No. 40 or No. 30 blade or with shears blend into and balance with the body coat and the topknot.
On the most popular pet trim outside the United States, the Modern clip, the hair on the back of the neck is even longer and fuller, with the blending into the topknot starting near the withers.
Clipping the Front And Back of the Neck
On patterns like the New Yorker, Dutch, Chicago Dutch, Pittsburgh Dutch, Pajama Dutch and Sweetheart clips, the front, sides and back of the neck are clipped.
- Begin by clipping the front of the neck as described above.
- Before clipping the back and sides of the neck, you must decide how you will shape the topknot at the nape of the neck: either rounded at the base of the skull, or into a V shape that converges down to a point in the center of the neck.
- If you choose to round the back of the topknot: Hold the Poodle’s muzzle in your free hand, bend it down slightly, and place your clippers at the base of the skull. Use a No. 15 blade.
Clip downward, stopping where the neck joins the body. - If you choose to make the V-shaped topknot that converges down to a point in the center of the neck:
Scissor in the basic shape of the V, proportioning the tip in the center of the neck according to its length.
Clip around the V and downward, stopping where the neck joins the body.
No matter how you style the back of the topknot, the line from front to back looks like a necklace would around your own neck when the neck is completely clipped.
To finish any body pattern, remember to comb the neck hair upward and forward, and then to scisor off any hair that falls over the clipped line. Using curved shears here to bevel or round the edges all the way around the neck will make your pattern look neat.

